


| Instructions for adding a bar riser system to your snowmobile. |
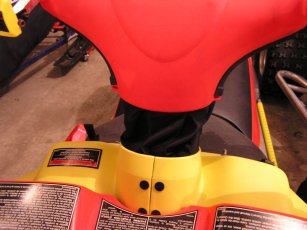
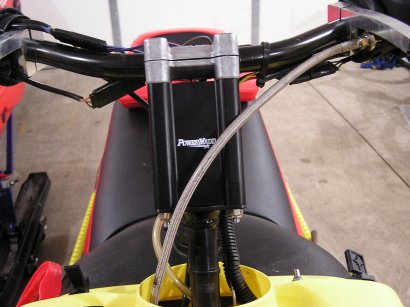
 | 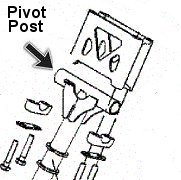 | Step 1 Remove the handlebar cover or pad and determine if you have a flat style steering post as pictured to the far left or a pivot style post with a 7/8" bar welded on top of the steering stem as pictured in the drawing. |
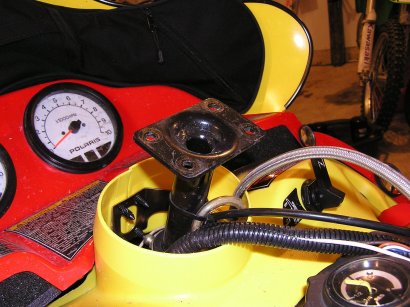
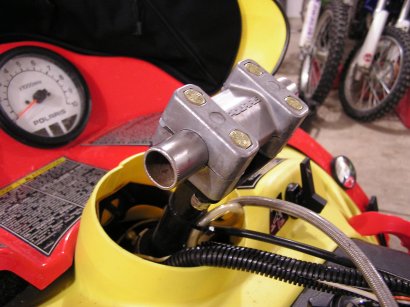
 | Step 2 Unbolt the handlebar clamps that attach the bars to the steering stem then pull up and measure the distance from the steering stem top to the bottom of the factory bar clamps to see how high you can go without affecting the cables or wiring. Some brake lines can be loosened by the caliper and turned and retightened to gain extra length. Rerouting brake lines and throttle cables can also gain you additional length. Do not stretch the cable or lines in any way and allow for turning. Longer lines and throttle cables can be purchased and installed if needed | |
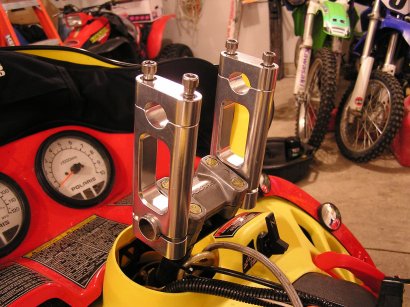
 | Step 3 Determine what style of riser block system you want or can use. There are 3. The first is the the flat block style as pictured installed. The second is a pivot style block for use with pivot posts and pivot adaptors. The third is an articulating style. Most of the mounting is very similar. There are some variation that may need to be discussed if you have some specific needs. If that is the case please call us for the additional information. | |
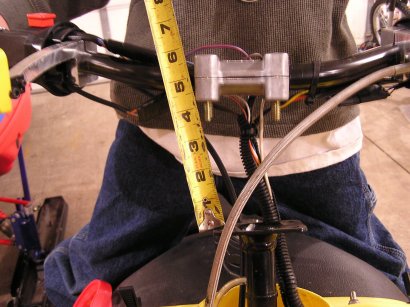
 | Step 4 Mount the Block or pivot post adaptor on the steering stem. Flat style set ups will require you to bolt everything up at the same time. Pivot style set ups can be done in a few steps. The pictures show us taking a 7/8" bar that is 5" long and mounting in into the factory neck so we can add an articulating riser set up or double pivot. On pivot style set ups you can mount the bars on last. We have risers and clamps to accept 7/8" and 1 1/8" bars. | |
 | Step 5 Bolt the riser system on and snug it up but do not tighten yet. Add the bars and snug them up as well. Adjust everything to the position you like best. Pivot and articulating styles have extra adjustments. | |
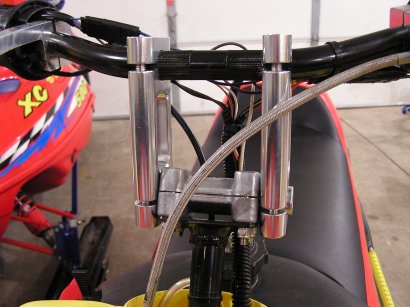 | Step 6 Tighten everything up and check to make sure that none of the cable, wires or brake lines rub or get stretched when you turn the bars from the far left to the far right. Add any additional accessories like handguards guards or a kill switch/teather. | |
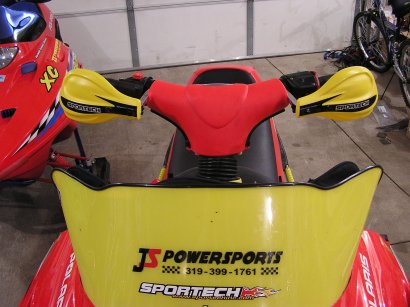 | Step 7 If everything clears then go ahead and put on your handlebar pad or cover. Enjoy, but also take some tools with you on your ride incase anything loosens up or needs adjusted. We sell all the riser systems, clamps, handlebars, bar pads and neck covers. Four different brands of risers can be seen on our site starting here: www.jspowersports.com/riserblocks.htm We sell neck covers to fill in the void and cover the exposed cables and wires-see below | |
|
|
|
|
| |